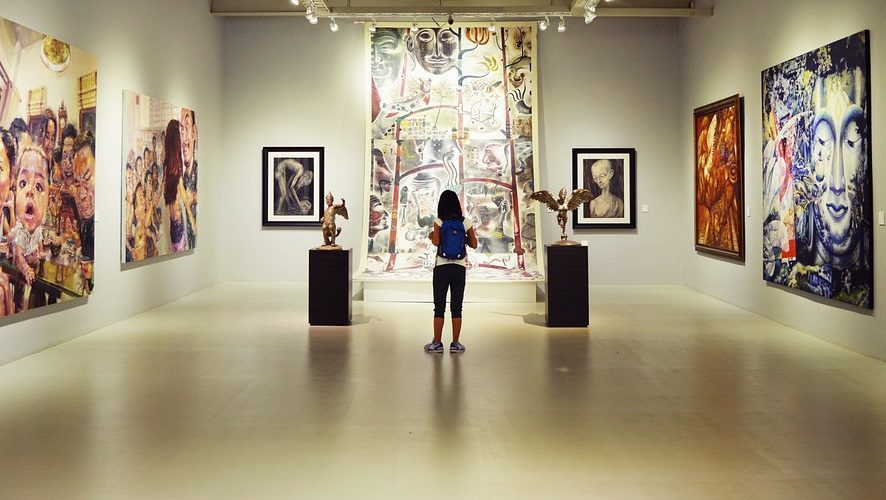
It’s no secret that showcasing your artwork in an exhibition can be a little bit daunting. Whilst exhibiting your pieces definitely opens up your art to a wider audience, there’s always the lingering worry of negative feedback, but it’s a risk worth taking. For emerging and established artists alike, the exposure is vital and is an important point of growth in your artistic development. Follow our exhibition planning checklist on how to organize an art exhibition, and showcase your work to the best of your abilities.
Whilst taking the steps below towards your next exhibition, it’s important to consider the context of your show. Is it being hosted by a private gallery? If so, they’re likely to take more of an active step in preparing the show. They’ll curate your work for you, prepare catalogs and press releases, and arrange a private view. If you’re preparing a solo or group exhibition independently, there’s much more to consider. You’ll need to scout a location, settle on a time and date, curate your work, and do all the marketing and press for the event.
Planning an Exhibition: Preparation is Key
1. Location
If you’re lucky enough to have your work picked up by various galleries, picking the location is just as important as if planning your own exhibition. Certain venues will expose your work to different types of people; it’s important to think about what type of audience the location will attract. Are working professionals in the area? Other artists? Collectors? Students? Think about who you’re trying to reach to get more of an understanding of the outreach. Research previous artists who have had exhibitions in similar venues.
2. Choosing Artwork
When you’re thinking about how to organize an art exhibition, the first thing that springs to mind is the artwork. Regardless of the location, you’ll have a large say in the pieces you exhibit. Select art that shows a spectrum of your skills and capabilities. Include a range of pieces that reflect your journey as an artist, as well as the works you’re most proud of. Try and pick pieces that could complement each other in terms of color, style or medium to tie the group of works together. Think about the gallery space and how visitors are likely to travel around it. How can you use the space to control the order in which the works are seen to design a narrative?

3. Make Your Art Exhibition Ready
Make sure to give your artwork some finishing touches to prepare it for the big day. If necessary, tidy up the edges of paintings and make sure the canvas hasn’t sagged in places. Think about how you plan to hang pieces. Do they look best with or without a frame? What color mounts will complement the artwork? Will they need mirror plates to secure them? Will they be hung directly on the wall, or by a type of clip? All of these considerations make a huge difference in the quality of your work. Originals or limited edition prints may need a certificate of authenticity; make sure you have this planned and ready to go, in case there is any interest on the opening night.

4. Transporting Your Work
Getting your work to the gallery safely is something you definitely don’t want to skimp on. If your works are big enough to require van transportation to the exhibition, then ensure they’re packed carefully with necessary padding and outer protection like crates or boxes. If you can personally bring your collection, it’s still imperative to package them correctly; however, you will have slightly more control over their journey.
Once You Organized Your Exhibition: Sell Yourself
5. Prepare Your Catalogue
Another couple of things to think about when you organize your own art exhibition: you’re not just selling your artwork at the exhibition, but you’re selling yourself as an artist – as a brand. It’s imperative to have an artist statement and resume prepared well in advance; make these documents available via your website or mailing list. If you’re represented by a gallery, they’ll publish an article or photos of your collection in their catalog, otherwise, it’s down to you to handle it. You’ll want a concise artist biography and statement with a professional portrait photo. Add high-quality images of the works you’re showing along with their titles, dates, mediums and prices.

6. Marketing
Marketing your own exhibition can be daunting, but if you’re well prepared, it should be a breeze. Have an option on your website for visitors to sign up to your mailing list months in advance, so when it gets close to your exhibition date you can begin advertising via email. It’s also worth contacting other local galleries, artist blogs, and professional arts organizations that may offer free or paid advertising opportunities to their clients. Don’t forget to make use of social media! Instagram, Facebook, and Twitter are vital tools in spreading the word about your exhibition and artwork. Give your followers a reason to show up. Share with them an exclusive special offer, such as a free miniature print to the first 20 visitors of your show.

The most important thing to remember when organizing your art exhibition is to be confident. Have faith in yourself and your artwork, and remember you’re there for a reason. There may be criticism or less-than-favorable feedback from some people, but if so, you can use this as a tool to grow and develop yourself in the future. Overall, be positive, network, and use the opportunity to showcase yourself to the art world.


